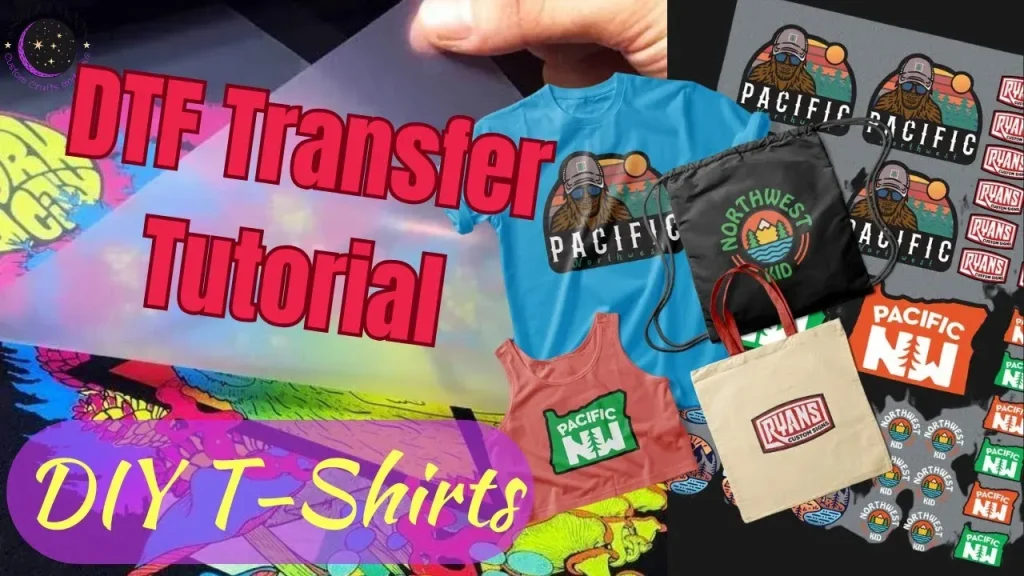
DIY DTF transfers empower small brands to produce vibrant, durable designs in-house, giving teams near-immediate control over art, color, production scheduling, and turnaround times across multiple garment styles. This approach blends the rich fidelity of direct-to-film printing with a practical, step-by-step post-processing workflow that shops, startups, and hobbyists can master with standard equipment, guided by careful color management. By handling design, printing, curing, and quality checks in-house, companies can reduce upfront capital, shorten sample cycles, and stay nimble as consumer demand shifts. Understanding DTF costs and following a practical DTF setup guide helps you forecast profitability, minimize waste, and scale production without locking in excessive equipment commitments. With a reliable heat press and a well-structured workflow, you can meet custom orders confidently, maintain consistent color and texture across fabrics, and grow your client base, while instituting repeatable quality audits.
Seen from another angle, this in-house transfer technique is often described as direct-to-film decoration or film-based garment printing, terms that align with the same value proposition. The focus shifts from branding to the workflow itself: film, powder, heat, and pressure, all orchestrated to preserve color fidelity and edge detail. Using this frame, designers and operations teams can plan stock, timelines, and quality checks around a repeatable, scalable process. LSI-friendly keywords such as in-house production, heat-press workflow, and cost-conscious manufacturing help connect the topic to related searches without repeating exact phrases. For small businesses evaluating options, comparing setup requirements and throughput across providers can reveal the best fit for on-demand apparel without compromising quality.
Understanding DTF Transfers: A Practical Option for Small Businesses
DTF transfers, short for direct-to-film transfers, are produced by printing designs onto a clear PET Film, applying an adhesive powder, curing it, and then transferring the finished design onto textiles using a heat press. This method preserves color richness, handles intricate details, and works well on cotton, blends, and some synthetic fabrics. For small businesses, the appeal is clear: faster sample cycles, lower minimums, and greater flexibility to switch between designs without expensive setup costs.
In practical terms, adopting DTF transfers can reduce time-to-market for new designs and promotions, helping brands respond quickly to demand. By understanding the core workflow and the associated DTF costs, you can compare this approach against traditional screen printing or full-service print options and choose a path that minimizes risk while preserving design fidelity and customer satisfaction.
DIY DTF Transfers: Tools and Setup for a Lean In-House Production
A practical DIY DTF setup starts with a curated set of DTF printing tools: a compatible printer with DTF film and white ink options, quality film and adhesive powder, and a reliable heat press that maintains consistent temperature and pressure. A pre-press unit, lint-free PPE, and a clean, ventilated workspace are essential to keep the process tidy and safe while maintaining color fidelity.
Design software and a RIP or printer driver that can manage color profiles, ICC settings, and bleed are critical for smooth production. As you follow a DTF setup guide, consider accessories like a curing conveyor or a compact oven for faster powder curing and a jig for precise alignment, which can dramatically improve throughput without sacrificing quality.
DTF Costs and Budgeting: Planning Your Startup’s Printing Line
Budgeting for DTF requires separating upfront capital costs from ongoing material costs. Upfront investments can range from a few thousand to well over ten thousand dollars, depending on the printer width, brand, and added curing options. If you opt for a hybrid approach, using a compatible printer with third-party transfers, initial costs can be lower but you’ll still need funds for film, powder, and a robust heat press.
Ongoing costs per transfer—film sheets, adhesive powder, and occasional ink or nozzle replacements—will scale with volume and design complexity. Don’t forget labor and overhead; time spent on design prep, alignment, and curing adds to the cost per garment. A simple budgeting method is to track material costs, labor hours, and revenue for the first 30–60 days to gauge profitability.
Workflow and Quality Control: From Design to Finished Garment
A smooth DIY DTF workflows minimizes errors and speeds fulfillment. Start with high-resolution artwork (at least 300 dpi), use vector elements for clean edges, and save files with bleed and safe margins. In the print preparation step, set the color profile suited for DT F films, ensure proper mirror settings if required, and run a test print to validate color balance and ink distribution.
Quality control is essential for customer satisfaction and repeat orders. Typical issues include poor adhesion, ghosting, color mismatch, and bleeding. Address these by calibrating printers with ICC profiles, verifying film and powder quality, ensuring fabrics are compatible, and maintaining consistent pre-press, pressing temperatures, and times. A structured QC checklist helps catch problems before orders ship.
Scaling with a Small Business Heat Press: Growth, ROI, and Future Upgrades
As demand grows, investing in scale-friendly hardware—such as a second heat press or higher-capacity curing options—becomes a strategic move. A small business heat press, paired with reliable DTF printing tools, can dramatically improve throughput and consistency, enabling you to meet tighter deadlines and larger order volumes while preserving design integrity.
Strategic scaling requires a clear ROI plan. Revisit your pricing by volume or design complexity, monitor depreciation on equipment, and compare in-house production against third-party services to decide when to expand. A phased upgrade plan—starting with core tools in Month 1 and adding faster curing or larger-capacity options in subsequent months—helps maintain margins while scaling operations.
Frequently Asked Questions
What are DIY DTF transfers and why are they a good option for small businesses?
DIY DTF transfers are designs printed onto clear PET film with adhesive powder, cured, and then transferred to fabric using a heat press. They offer vibrant color, fine detail, and faster in-house production, which lowers upfront costs and reduces minimums for small businesses. This makes it easier to test designs, run promotions, and scale as demand grows.
What are the essential tools for a DIY DTF transfers setup, and how do DTF printing tools fit into a simple setup guide?
Key tools include a compatible printer with white ink for DTF printing, DTF film, adhesive powder, a reliable heat press (typically 320–360°F), a pre-press setup, design software with a RIP, and a clean workspace. This aligns with a practical DTF setup guide focused on color accuracy, alignment, and durable transfers. If you don’t own a dedicated DTF printer, you can start with a service and gradually add the DTF printing tools you need.
What are the typical DTF costs for a DIY transfers project?
Upfront costs vary by equipment and can range from a few thousand dollars to over ten thousand for a full DTF printer setup with films and curing options. Ongoing costs per transfer include film sheets, adhesive powder, and occasional ink or nozzle replacements, which scale with volume and color complexity. Don’t forget labor and overhead, as design prep and transfer steps consume time alongside materials.
What is a basic DTF setup guide for beginners?
A basic DTF setup guide starts with selecting a printer, choosing films and powders, and setting up a heat press. Prepare artwork at high resolution and configure color profiles in your RIP. Print a test, apply powder while the film is warm, cure, pre-press the garment for 5–10 seconds, and transfer with even pressure at the recommended temperature and time.
How can small businesses optimize production with a small business heat press when using DIY DTF transfers?
A dependable small business heat press is central to consistent results. Use a proper pre-press to flatten fabric, set temperatures in the 320–360°F range, apply even pressure, and follow the recommended pressing time for your transfer. Build a repeatable workflow, perform quality control checks, and track costs and ROI to decide when it’s time to scale or upgrade equipment.
| Topic | Key Points |
|---|---|
| What are DTF transfers | DTF transfers are printed on PET film, coated with adhesive powder, cured, and transferred to fabric with a heat press. They preserve color richness, handle intricate details, and work on cotton, blends, and some synthetics. Benefits for small businesses include faster sample cycles, lower minimums, and greater design flexibility. DIY DTF enables in-house production for quick turnarounds. |
| Tools required | DTF printer or compatible printer with DTF film and white ink; DTF films and adhesive powder; heat press (320–360°F / 160–182°C); pre-press unit; design software + RIP; cleaning tools; PPE; a dedicated, ventilated workspace. |
| Optional additions | Curing or post-press conveyor or compact oven; alignment jig or easy-alignment system; inventory management for films, powders, and garments. |
| Costs and budgeting | Upfront costs vary by setup; dedicated DTF printer kits can range from a few thousand to over $10k. Hybrid approaches may lower upfront; ongoing per-transfer costs include film, powder, and ink/replacements. Factor in labor and overhead. |
| Workflow | Design and prep; print onto film; apply adhesive powder; cure; pre-press garment; transfer with heat; peel and finish. Follow proper color management and alignment throughout. |
| Quality control & troubleshooting | Common issues: poor adhesion or peeling; ghosting or blurred edges; color mismatch; bleeding. Fixes: adjust coating thickness and curing time; calibrate printer and ICC profiles; test on the same fabric; ensure fabric compatibility. |
| Design considerations | Color separation and white ink usage; plan white as a base layer on dark fabrics; aim for high-resolution art; test on sample fabrics; maintain consistent color management and lighting when evaluating prints. |
| Pricing, ROI, and scaling | Revisit pricing to preserve margins; use tiered pricing by volume or design complexity. Track material costs, labor, and maintenance. Compare in-house vs. third-party printing and monitor turnaround and quality when scaling. |
| Getting started: practical setup plan | Month 1: establish core toolkit and catalog; Month 2–3: add transfer variants and optimize color profiles; Month 4+: upgrade equipment as orders grow; reassess pricing based on real costs and profitability. |
Summary
DIY DTF transfers offer a practical pathway for small apparel brands to control design, speed, and costs. With the right tools, a conservative budget, and a solid workflow, you can produce vibrant, durable designs in-house, enabling faster turnarounds, greater design flexibility, and healthier margins. As your brand grows, this approach can scale, turning in-house capability into a differentiator that drives sales and customer loyalty.